Everyday Free Shipping (details here)
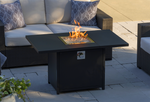


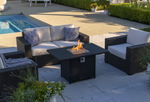
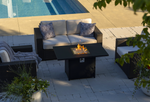
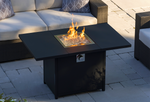
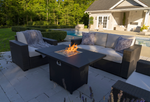
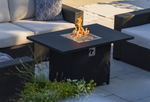
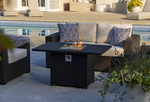
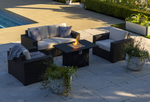
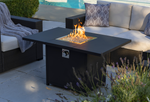
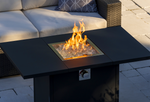
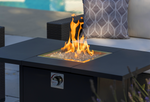
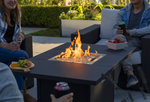
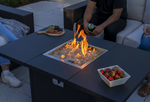
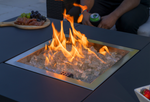
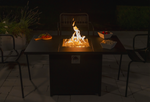
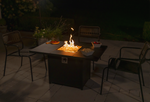
Fraser Fire Table
Specifications
- Model Number: 435 (FMPPC2E-435)
- Dimensions (L x W x H): 44" x 28" x 24"
- Weight (with rocks): 56 lbs
- Function & Design: Mid-Height – a rectangular version of our popular Main Street Fire Table, featuring the same sleek, minimalistic aesthetic
- Maximum BTU Output: 50,000/hr
- Ignition Type: Auto Ignition
- Fuel Type: Propane
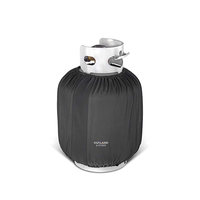
- Compatible Tank Size: 20 lb
- Natural Gas Conversion Kit Available: Yes (Model 543)
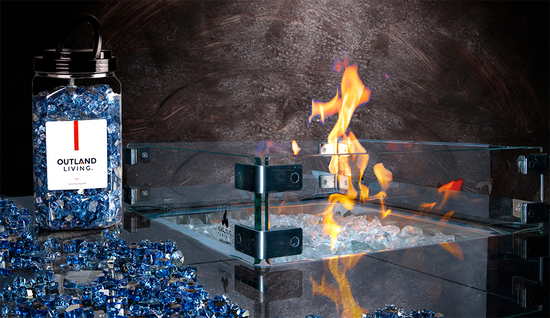
- Includes: 8.8 lb arctic ice glass rock set, pre-attached 3’ hose and regulator
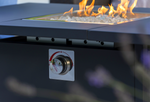
- Material: High-quality powder-coated steel, 304 Stainless Steel burner and fasteners, chrome control knob
- CSA Approved: Yes – safe to use during most fire bans
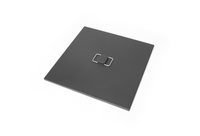
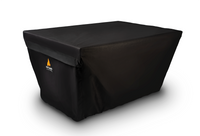
- Compatible Accessories: Fire Table Series 435 Steel Lid (Model 537), Glass Wind Fence Guard (Model 539), Durable Cover (Model 541), Three-Piece Set (Model 542)
- Assembly Required: Yes
- Replacement Parts: For assistance with parts, please contact customer support at 1-888-514-1663 or email us at info@outlandliving.com
Owner's Manual (PDF)
Questions & Answers
Once your order ships, delivery typically takes 2-8 business days, depending on the destination. If your order has multiple items, they may ship separately, but no need to worry! They usually arrive within a day or two of each other, and you’ll get a tracking number for each see more
Once your order ships, delivery typically takes 2-8 business days, depending on the destination. If your order has multiple items, they may ship separately, but no need to worry! They usually arrive within a day or two of each other, and you’ll get a tracking number for each item to follow their journey.
Absolutely! Purchase with peace of mind with our one-year manufacturer’s warranty. After the year is up, we highly encourage you to reach out to our support team if you have any concerns. We understand that things pop up and our team is ready to jump in and help. see more
Absolutely! Purchase with peace of mind with our one-year manufacturer’s warranty. After the year is up, we highly encourage you to reach out to our support team if you have any concerns. We understand that things pop up and our team is ready to jump in and help. Contact us at 1-888-514-1663 or by email at info@outlandliving.com.
Nothing – shipping is on us! Enjoy everyday free shipping without a minimum purchase requirement.
Nothing – shipping is on us! Enjoy everyday free shipping without a minimum purchase requirement.
While our tables do not include the accessories, a variety of have been designed for them and are available for purchase separately. This allows you to select the ones that best suit your needs and preferences!
While our tables do not include the accessories, a variety of have been designed for them and are available for purchase separately. This allows you to select the ones that best suit your needs and preferences!
To protect your table, store it indoors during inclement weather seasons or ensure it’s well-covered to shield it from harsh conditions. Before each use, clear any debris from the burner area. If cleaning is needed, use warm soapy water with a soft cloth, or opt for a microfiber see more
To protect your table, store it indoors during inclement weather seasons or ensure it’s well-covered to shield it from harsh conditions. Before each use, clear any debris from the burner area. If cleaning is needed, use warm soapy water with a soft cloth, or opt for a microfiber cloth when cleaning the glass top. Avoid using harsh or abrasive cleaners. Be sure to dry the table thoroughly to prevent watermarks and preserve its appearance. Regular care and inspections will help keep it looking great!
• Ensure the igniter connection is made at the gas valve. • Ensure silicon boot is over top the connection. • Ensure the igniter cover is not obstructed by glass rocks (no glass rocks on top of the igniter cover and leave a bit of space around sides see more
• Ensure the igniter connection is made at the gas valve. • Ensure silicon boot is over top the connection. • Ensure the igniter cover is not obstructed by glass rocks (no glass rocks on top of the igniter cover and leave a bit of space around sides for oxygen flow). • Ensure igniter tip is approx. 3-5mm (1/8-5/32”) from electrode tip and a spark is visible. The most likely ignition problem is the thermocouple: 1. Remove the igniter cover and clean the igniter tip and thermocouple tip of any carbon buildup using a damp rag. (Carbon buildup insulates the thermocouple and degrades the electrical connection). 2. Ensure the ground wire connection is firmly screwed down and the connector terminal is making a totally flat contact connection. 3. Ensure the round thermocouple connector is fully pushed in. 4. Ensure the igniter cable is properly engaged. 5. Review ignition steps (push in and turn to ignite, do not release gas valve; keep holding gas valve in for 10 seconds before releasing). IF YOU CANNOT GET SPARK: 1. Look inside the igniter cover. Ensure there is no debris between the electrode tips or carbon fouling visible on the electrode tips. 2. Locate the igniter cable. Ensure the connector is attached firmly to the gas valve and the silicone cover is pressed up against the gas valve connection. IF YOU GET SPARK, BUT THERE IS NO GAS, OR THE GAS KEEPS SHUTTING OFF: 1. Locate the thermocouple ground wire. Ensure the ground screw is tight on the wire connector. 2. Locate the round thermocouple connector. Make sure it is set in the connection. Hold the gas knob on the outside, so it doesn’t move and push the connector in hard. Ensure the silicone cover is pressed up against the gas valve connection. Follow the ignition sequence again. If still no results after three tries, move to step 3 below. 3. Wait until the glass rocks are cool, or wait 5 minutes for any gas to dissipate – whichever is longer. 4. Turn the gas cylinder valve to the ‘Closed’ position. 5. Open the fire table gas knob control for 3 seconds to release gas pressure. 6. Close gas knob. 7. Locate the Igniter Cover Cap in the burner tray. 8. Wear eye protection. Use a tool to move the glass rocks away from the Igniter Cover Cap. 9. Remove the Igniter Cover Cap. 10. Use a damp rag to wipe and clean the thermocouple tip and igniter tip. 11. Ensure the spark gap is about 3-5mm (1/8-5/32”) apart and has a clear path. 12. Visually inspect the spark by rotating the knob to engage the igniter (without turning the gas back on at the cylinder!) If no spark, check connections again. If spark, go to next step. 13. Replace the Igniter Cover. Ensure no glass rocks are inside the protected cover area. IMPORTANT: When arranging the glass rocks back around the Igniter Cover, ensure no rocks are on top of the igniter cover. Leave sufficient room around the igniter cover so that air can circulate. CAUTION: When inspecting the ignition, watch for glass dust. Wear eye protection. Use a tool or wear gloves to move glass rocks. Avoid blowing glass dust in the air.
If carbon deposits are noticeably forming on your glass rocks this usually indicates a lack of oxygen. Check to see the burner tube venturi opening is wide open (where the burner tube meets the gas valve). Adjust glass rocks away from the burner tube holes. Some carbon is see more
If carbon deposits are noticeably forming on your glass rocks this usually indicates a lack of oxygen. Check to see the burner tube venturi opening is wide open (where the burner tube meets the gas valve). Adjust glass rocks away from the burner tube holes. Some carbon is expected to buildup on the sides of the fire table burner tray. It is easy to clean. Simply wipe it away. Before cleaning, ensure the fire table and rocks are not hot. Use a rag to wipe the carbon deposit from the burner tray. Wash glass rocks to remove black.
It is normal for your burner tray to tarnish during regular operation. The surface tarnish on the stainless-steel appears as a rusty-dark brown and gold-yellow color (it is not rust!). The tarnish is caused by the heat of the flame and can be removed by using standard stainless-steel see more
It is normal for your burner tray to tarnish during regular operation. The surface tarnish on the stainless-steel appears as a rusty-dark brown and gold-yellow color (it is not rust!). The tarnish is caused by the heat of the flame and can be removed by using standard stainless-steel cleaning products (we recommend a product called “Barkeeper’s Friend”). Use a non-abrasive pad to wipe in the direction of the grain of the stainless-steel (do not wipe in a circular motion, or against the grain, or scratches may appear). With a little ‘elbow grease’, the surface tarnish can be removed.
Your glass rocks may crack and turn brown/black under normal operating conditions. Glass rocks tend to crack if exposed to water/rain during operation. This does not affect the functionality of your fire table. The glass rocks can be washed clean. Replacement glass rocks can be purchased from our see more
Your glass rocks may crack and turn brown/black under normal operating conditions. Glass rocks tend to crack if exposed to water/rain during operation. This does not affect the functionality of your fire table. The glass rocks can be washed clean. Replacement glass rocks can be purchased from our website at the footer section "REPLACEMENT PARTS".
Currently, this model fire table is only available in the one color option (all black) and the one size. However, the Main Street Fire Table is the square version of this fire table – with the same design, but as a smaller option. Check out the comparison chart see more
Currently, this model fire table is only available in the one color option (all black) and the one size. However, the Main Street Fire Table is the square version of this fire table – with the same design, but as a smaller option. Check out the comparison chart to easily view all the main differences of our fire tables.
SIGN UP FOR RESTOCK NOTIFICATIONS

- Unfortunately Fraser Fire Table is currently out of stock.
- We expect the product to be back in stock around Spring 2025.
- Feel free to sign up below to get notified as soon as the product is listed for sale again.


